Image


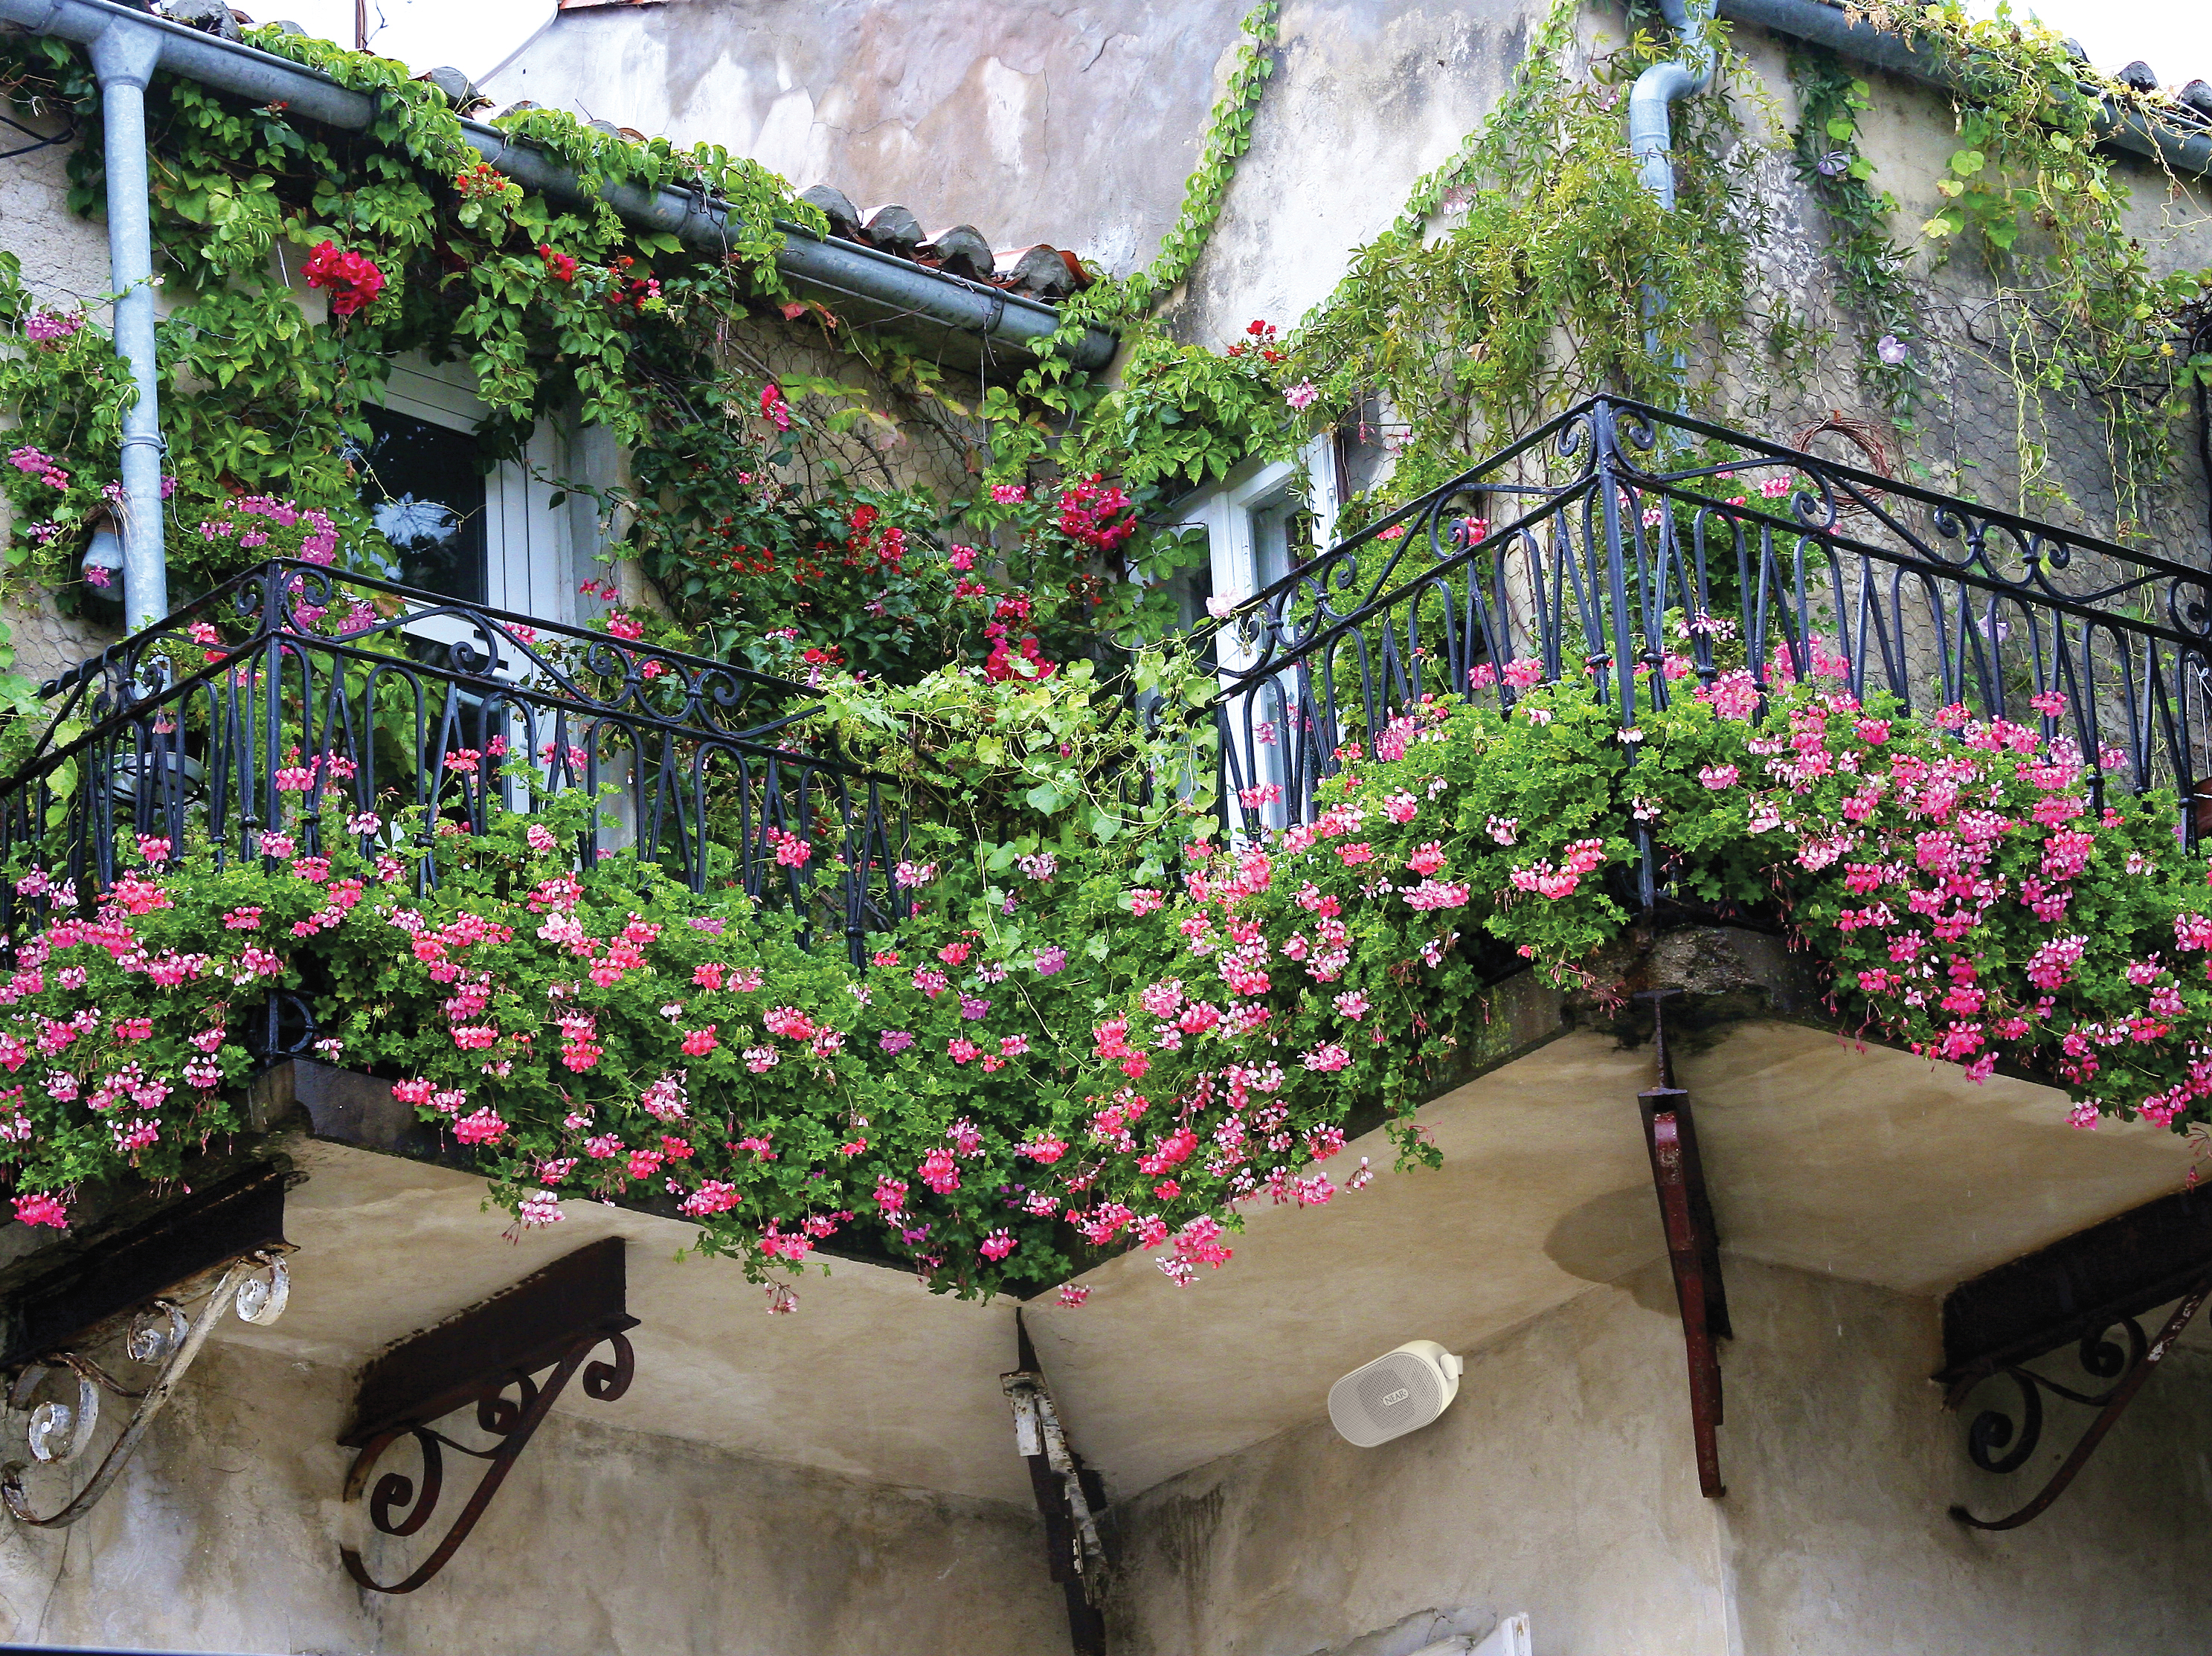
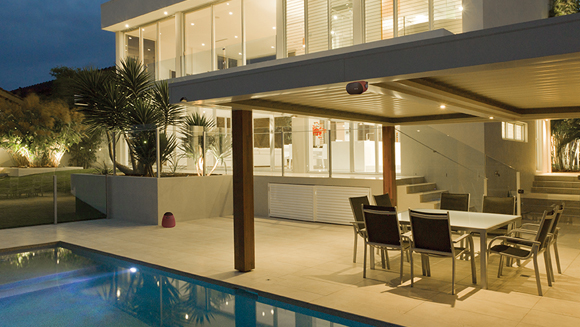
Elevate your outdoor entertainment experience with state-of-the-art NEAR outdoor speakers. Designed to blend seamlessly with nature, these speakers deliver exceptional sound quality while withstanding the elements. Whether you're hosting a backyard barbecue, relaxing by the pool, or enjoying a serene evening on your patio, NEAR outdoor speakers provide the perfect soundtrack to your outdoor moments. Immerse yourself in crystal-clear audio that complements the beauty of the great outdoors. Explore our range of outdoor speaker solutions and redefine your alfresco entertainment today. Bring the music closer to nature with NEAR outdoor speakers.
NEAR (New England Audio Resource) speakers have a rich history dating back to the early 1980s. Founded by Bill Kieltyka, NEAR quickly gained recognition for its innovative approach to outdoor and all-weather speakers. One of their significant early achievements was the development of the AEL-2.0 , a groundbreaking outdoor loudspeaker that set new standards for durability and sound quality. NEAR speakers became popular in various applications, from residential outdoor audio systems to commercial installations, such as Universal Studios, Disney, Legoland, and thousands of other demanding installations. Over the years, the company continued to refine its designs and expand its product line, earning a reputation for producing high-performance, weather-resistant speakers. The legacy of NEAR speakers lives on, offering audio enthusiasts reliable and high-quality sound solutions for outdoor environments.
Metal-alloy Diaphragm Technology (MDT) enhances the performance and longevity of outdoor speakers, making them a reliable choice for delivering high-quality audio in challenging outdoor environments. Whether you're creating an outdoor entertainment space or need audio solutions for commercial applications, MDT outdoor speakers can provide the durability and sound quality required for outstanding outdoor audio experiences.
Durability: MDT outdoor speakers are built to withstand harsh outdoor conditions, including exposure to UV rays, extreme temperatures, moisture, and even saltwater. The metal-alloy speaker cones are resistant to warping, cracking, and deterioration, ensuring longevity and reliability.
Weather Resistance: Outdoor environments can be unforgiving, but MDT speakers are designed to resist moisture, corrosion, chlorine, and fertilizer, making them suitable for use near pools, in gardens, on boats, and in other outdoor settings without compromising performance.
Improved Sound Quality: Metal-alloy cones are rigid and lightweight, which helps to reduce distortion and improve sound accuracy. This results in clearer and more detailed audio, even in open-air spaces where sound clarity can be a challenge.
Extended Frequency Response: MDT technology often allows for a wider frequency response range, which means outdoor speakers equipped with metal-alloy cones can reproduce both deep bass and high-frequency sounds more effectively. This results in a fuller and more immersive listening experience.
Power Handling: Metal-alloy cones can handle higher power levels without distortion, making them ideal for outdoor speakers that may need to project sound over larger outdoor areas.

The Voice-coil Guidance System (VGS) and Magnetic Liquid Suspension (MLS) offer significant advantages for outdoor speakers, including improved sound quality, long-term durability, and resistance to outdoor elements. These technologies contribute to better performance and longer lifespans for outdoor audio systems, ensuring a more enjoyable listening experience in various outdoor settings.
Benefits of Voice-Coil Guidance System:
Precision Sound Control: Voice-coil Guidance System uses a stable and unique magnetic fluid to precisely control the movement of the speaker's voice coil. This results in improved sound accuracy, reduced distortion, and enhanced overall audio quality.
Improved Alignment: VGS minimizes unwanted vibrations and misalignment in the critical voice coil/magnet of the woofer, which can often occur when speakers are exposed to outdoor elements. This improved alignment leads to clearer and more faithful sound reproduction.
Extended Speaker Lifespan: By minimizing stress on the speaker components, VGS can help prolong the lifespan of outdoor speakers, ensuring they perform reliably for longer periods even in challenging outdoor conditions.
Improved Power Handling: VGS allows for greater power handling, enabling the speakers to produce louder and more dynamic sound while minimizing the risk of thermal damage and distortion.

Increased Durability: MLS technology eliminates the need for traditional speaker suspensions made of fabric or plastic, which can deteriorate over time due to exposure to outdoor elements. MLS technology increases the overall durability and longevity of outdoor speakers, resulting in long-term consistent performance.
Moisture Resistance: MLS-equipped speakers are less susceptible to moisture damage, making them suitable for wet outdoor environments where rain, humidity, or dew are common.
Greater Flexibility: MLS suspension systems are designed to provide precise control over the speaker's movement, allowing for improved performance and reduced distortion.
Improved Bass Response: MLS technology enhances the low-frequency response, resulting in deeper and more impactful bass, even at lowered volume levels, which is often missing in outdoor audio setups.
Maintenance-Free: MLS speakers require less maintenance because there are no foam or rubber parts that degrade over time. This can lead to cost savings and less hassle for users.

Lever Bracket speaker mounts provide practical, flexible, and user-friendly solutions for installing outdoor speakers. They contribute to better sound quality, ease of installation, and versatility in positioning the speakers making them a valuable component of the complete outdoor audio system.
Easy Installation: Lever Bracket mounting assemblies (Patent Pending) are designed for quick and straightforward installation. They include a wall-mounted lever assembly which is installed first. The speaker and mounting bracket are then easily slid into the lever assembly. The Lever Bracket can be attached to a variety of outdoor surfaces, such as walls, fences, poles, or ceilings.
Flexible Positioning: This mounting system also provides a wide range of adjustability, up/down, left/right, allowing users to precisely position the outdoor speakers for optimal sound coverage. This flexibility is particularly valuable in outdoor settings where the placement of speakers can significantly impact sound quality and listener enjoyment.
Aimable Sound: With the ability to aim the speaker in multiple directions, whether towards a seating area, patio, garden, or pool area, the sound is directed where it's needed most, improving the overall listening experience.
Secure and Stable: The Lever Bracket mount offers a secure and stable mounting solution for outdoor speakers. It is designed to withstand outdoor conditions, ensuring that the speakers remain in place even during inclement weather or strong winds.
Versatility: This mounting bracket is versatile and compatible with several models in the NEAR LB range of speakers. This allows users to choose the speaker that best suits their audio needs while still benefiting from the convenience of lever bracket mounts.


